
AAR Rebel Training Camp: Northern Resistance Game 3
March 12, 2014
)
So, this is where the day got really crazy! Both games 3 & 4 had not only the capture rules in effect, but they also had multiple vehicles, rocket launchers, and C4 props. Overall the games were very exciting, however, because of all the extra things we decided to throw in, it certainly got to be a little bit harder to follow even for myself.
The scenarios for Games 3 & 4 were essentially the same with each team switching sides and objectives so that both teams got equal time fighting with and then against vehicles.
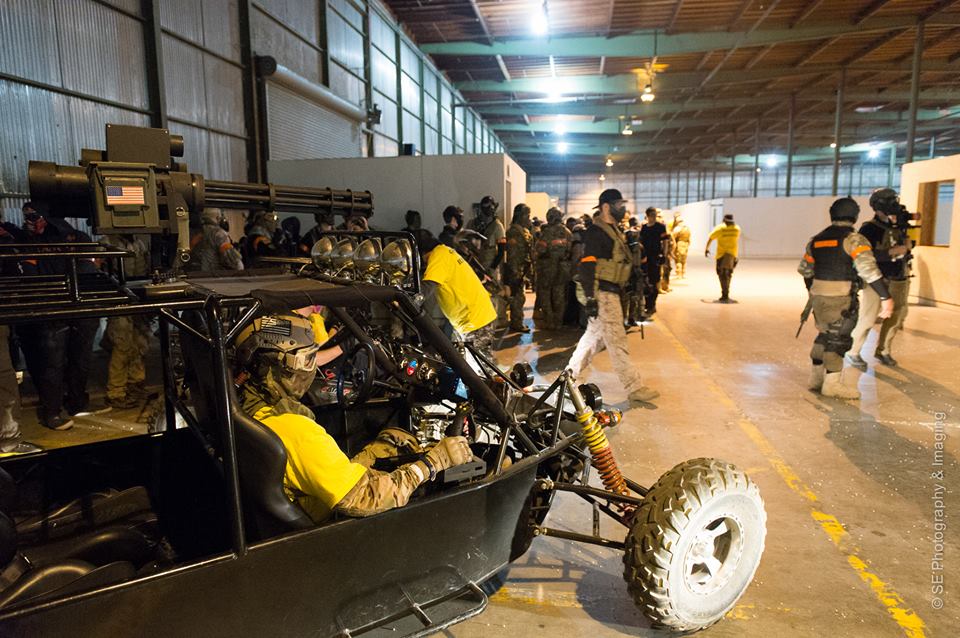
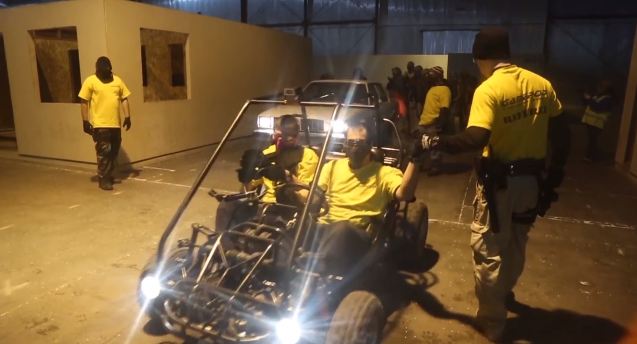
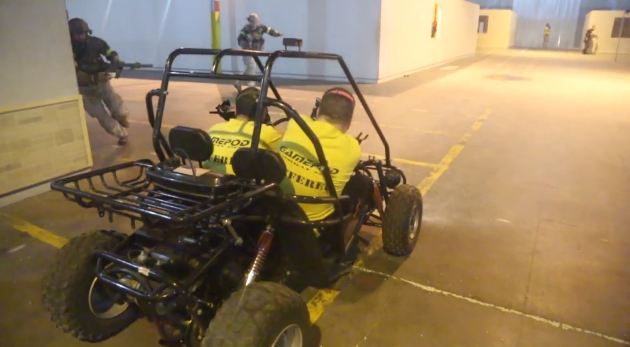
I’d like to give a quick rundown on the vehicles we were using for this scenario, more specifically the two buggies and an Oldsmobile Cutlass we used as an APC. The first buggy has four seats, 1 for the driver and three for passengers. It also had a joystick with a small monitor mounted directly in front of the forward passenger compartment, essentially making that passenger the gunner for the “minigun” on top. Now, the minigun on top of the buggy is actually a fake shell with barrels that spin when the gun fires and it houses a P90 with dual sector gears as well as a high capacity box magazine. The screen in front of the passenger compartment can also be switched from regular video to thermal, so you can kick it over in low light and just shoot at heat signatures! Awesome! The smaller buggy is essentially a two person scouting vehicle. Both the driver and the passenger can carry weapons but it doesn’t’ have near the same firepower as the larger buggy. The last vehicle that we used was the previously mentioned Oldsmobile Cutlass and was used to transport rebels to specific areas of the battlefield as well as to provide mobile cover.
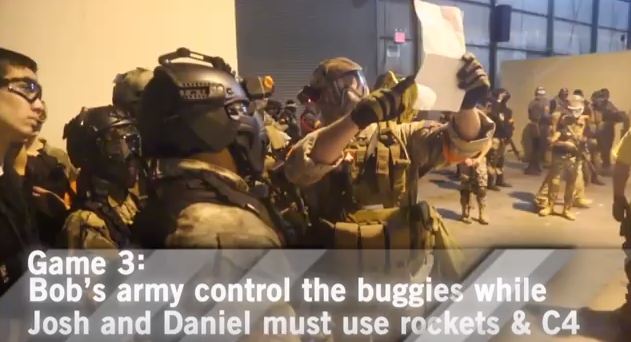
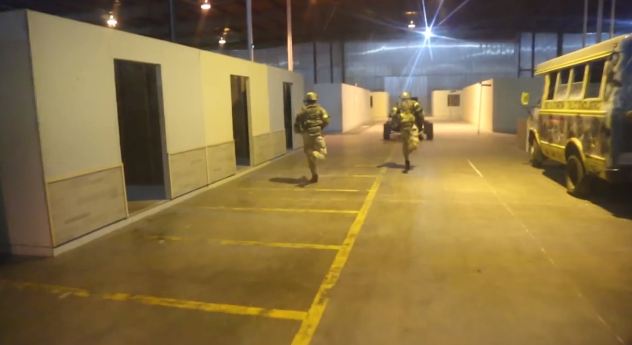
For Game 3, my team would be starting with the vehicles between Killhouse 3 and the Bank. Josh’s team would begin the game with both the Rocket launcher and two sets of C4 between the Motor Cycle shop and the Bail Bonds building. My objectives were to capture 4 different intel crates which were worth 2 points a piece that were randomly placed on the field and are marked on the map with red X’s. Josh’s team was not allowed to move the intel crates and my team had to bring them back to our spawn in order to score points, so the objectives would be fairly static for this evolution.

My plan was to throw everything I had at the two crates that were furthest away from my starting position. I did this hoping that when my team captured those crates that we would at least have an easier chance at the remaining crates since they would be closer… not all went according to plan. As my Half-Life: Opposing Force manual once said, “No plan survives first contact intact.”
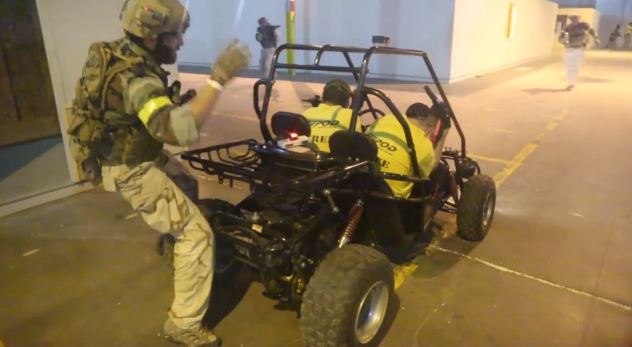
Within the first 5 minutes both of my buggies were blown up by Josh’s forces and my rebels were left with just infantry to make it to both the airport and the office. I must admit that not only was Daniel engaging the buggies at point blank range with the rocket launcher but also that Team Disposable Heroes was doing some excellent work with their C4 packs. Now, when a vehicle is blown up by either the rocket launcher or C4 it means said vehicle is out of action for 10 minutes, which, in a 40 minute game, means that vehicle is gone for a big chunk of that evolution. This meant that taking out the vehicles or keeping the vehicles alive, depending on what side you were on, was definitely a huge priority.

This situation notwithstanding, my rebels were still able to secure the intel case located in the airport with some hard fighting and some creative jumps through windows. A few more rebels were able to bring it back to our spawn, giving us 2 points. Once our vehicles were resurrected I promptly sent them to the office to secure crate number two. Now, I had wanted to keep most of the vehicles together in order to steam roll whatever was in front of them, but halfway through the game I had decided to send the Cutlass APC over to where we thought crate 3 was located. I did this in order to split the anti-armor fire we were receiving and it seemed to work, the rocket rounds and C4 my buggies were getting hit with did seem to slack off once I sent the Cutlass into the middle of the city. In fact, this is what probably allowed us to seize the second crate in the last half of this evolution giving us a further 2 points.
Again, I have to hand it to Josh and Team Disposable heroes because they really put the hammer to my vehicles. I had roughly one vehicle destroyed every 5 minutes, which definitely affected my team’s advance. Josh did a very good job of leading his anti-armor teams around the field and basically making my job that much harder. I did have a chance to review the footage after the event and I must say that I was very impressed with Team Disposable Heroes’ consummate tactics when it came to taking out my buggies. In one instance I can recall they sent one man out in front of the buggy as a rabbit to distract the buggy’s gunner, while the other teammate would rush around the back and plant C4 on the buggy’s exterior plating. This tactic was rather effective against my vehicles and they used it multiple times during that evolution.
They even went so far as to run directly through the center of my lines to plant C4 on a buggy. I watched them in awe thinking, “Look at these crazy guys…”
Still, I was damn proud of my Rebels for capturing two intel crates that were incredibly hard just to get close to. The score at the end of this evolution was as follows:
Josh’s Team: 6 points
Bob’s Team: 13 points
The final AAR for Bob’s Rebel Training Camp: Northern Resistance is soon to follow, so stay tuned!